Ok, this is how the SP-505 looks inside, it consist basically on 2 main boards, the one in the bottom where are located the inputs/outputs ports and I guess all the voltage controls and probably the processor...
You would need to remover this card from the bottom cover if you want to see the contacts on the board, be careful removing the screws...


This is the top board, where are the pad contacts, buttons, knobs and the display (previously I opened the sampler I though probably I would be able to replace the led's so I could have a customized 505, but this is not possible with this sampler, led's are so fucking tiny! you can't even see them on pics but are located on the middle where goes the pads contacts)

This is how it looks behind the top cover, the small board in here is to control the volumen and rec level:

And those are the beautiful pads!

This is the back of the top board, it looks pretty normal...:

but when I took a closer pic I was able to see the problem!

as you can see the board it's cracked, probably because the previous owner hit the CRTL 3 knob and the knob push the board until it cracked up... but the CTRL 3 knob was working good, anyways I found the contacts were damaged so since I was fixing some other points I decided to fix those contacts also to avoid future problems...
How I fixed the board? the crack was interrupting the electric flow from one of the F2 contacts, so every time that I was pressing the F2 key, nothing happens... I needed to think a way to continue this circuit so I scratched the board with the tip of a knife and I took out the green "paint" that covers the circuit board, but I do this only in the necessary place, do this bigger could mix your contacts and then you are going to burn your sampler!
So board looked like this:

You can see in here how I scratched out the green paint and how the bronze contacts are visible... so theres were I applied a small amount of soldering and voila! problem solved!

On this last pic you can see how I solder the contacts and how it looks now...
Now, let's talk about the RCA contacts...
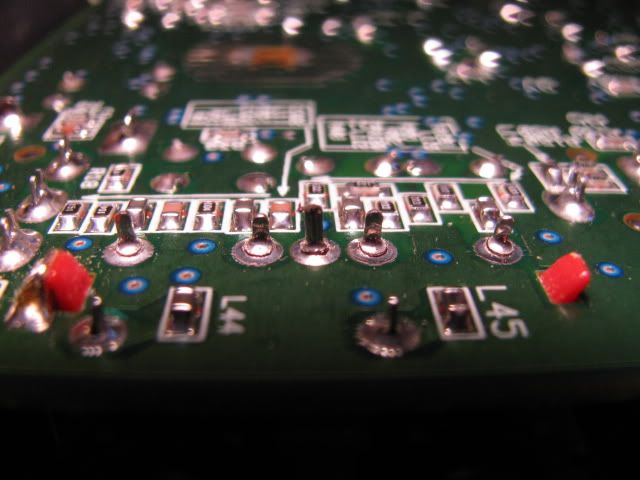
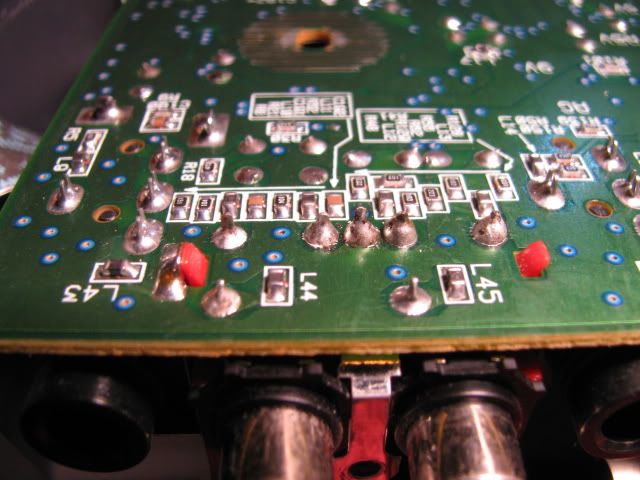
You can see on this pics on the bottom of the L45 and L44 2 contacts that doesn't looks perfectly soldered, those are the contacts that you need to clean and then solder with new iron... how to clean the contacts? the package that I bought came with a de-soldering braid wick, pretty easy! then apply a new solder resin core and you are done! I was afraid to messed up my sampler but I do everything with care trying always to apply the rosin only where you should... you need to be very careful with this and if you do not have previous experience like I do you should be extremely careful! lol...
look at this pics:


you can see like a "ring" on the contacts so this is the space that you should fill, but the best way is clean the contact and apply a new resin so this is going to warranty a long time of use...
This is how the contacts looks after the soldering process...


board its a little white out because every time you apply heat to the resin with the soldering iron it produce a little smoke, so be careful do not place your face too close!
Well, I hope this help somebody who is having the same or similar problems like me!... I need to say... my SP is working and sounding perfectly now!
Peace and Happy New Year!

 Never saw the inside of the 505 before.